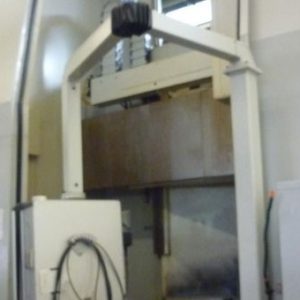
What Industry Experts Recommend Before Purchasing a Pre-Owned, Second-Hand, Surplus, Used Bryant Model C Centalign Automatic Inside Diameter Jig Grinding Machine made in USA
A “Bryant Model C Centalign Automatic ID / jig grinding machine” is a precision internal (inside diameter) / jig grinder built by Bryant in the U.S. Before purchasing a used / surplus one, industry experts recommend a thorough mechanical, control, and functional inspection; this is more critical than with many general machine tools because grinders, and especially internal / jig grinders, demand very tight tolerances, stiffness, stable thermal behavior, and excellent control of vibration, runout, and precision.
Below is a detailed expert-level checklist and set of recommendations (divided into phases) you or your inspection team should follow. I also include special “red flags” to watch for when it’s a Bryant C / “Centalign” ID / jig grinder.
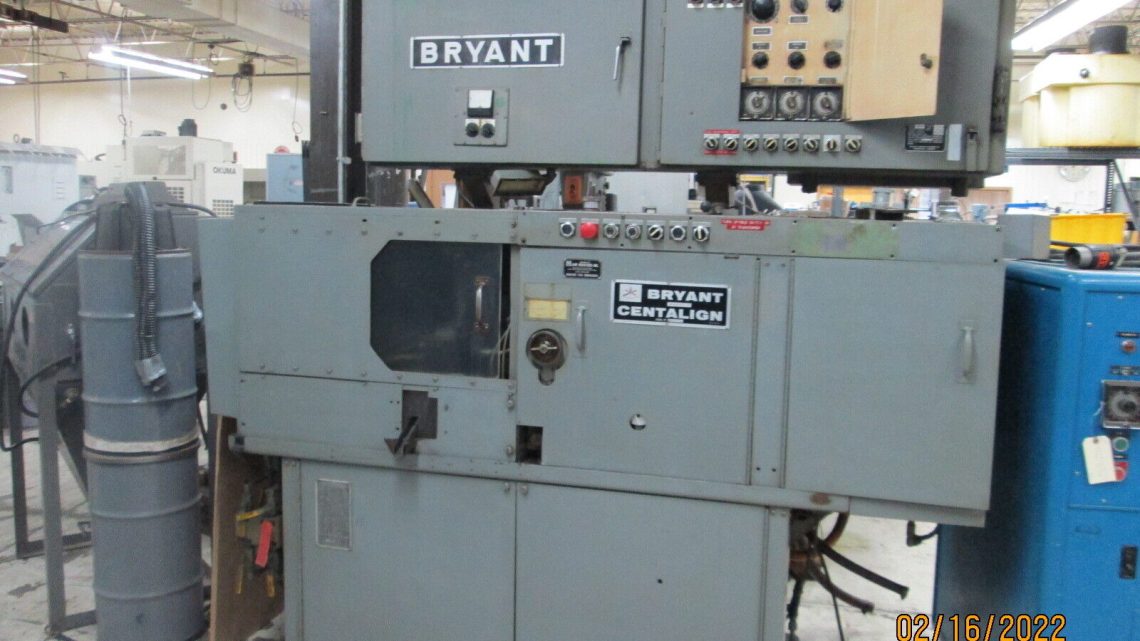
What We Know (Baseline / Spec Reference) — Bryant Model C “Centalign”
Before inspection, know what the machine should be able to do (or what typical published specs are) so you can spot deviations:
- One listing describes a Bryant C “Centalign internal grinder” with these standard spec values:
• Maximum swing: 10″ (about 254 mm)
• Maximum O.D. of work part (auto loading): 4″
• Grinding stroke: 1″
• Wheel slide stroke: 8″ - The same listing states: variable speed workhead (200 to 1500 rpm), traverse rate (approx 50 ft/min), hydraulic / variable motors for the cross feed, etc.
- Bryant grinders are known for rebuild / retrofit service availability (GCH Machinery does restorations and upgrades)
Use those as reference points. If the machine you inspect diverges significantly (e.g. much lower stroke, much slower spindle, excessive wear), that’s an alert.
Phase 1: Pre-Inspection / Documentation & Vendor Screening
Before you go in person, gather as much information as possible. This helps avoid wasted trips and gives you talking points on site.
- Serial number, model version, build year / series: Ensure it is indeed a “Model C Centalign,” and get the series (Series 1, 2, etc.).
- Operation / maintenance history: Ask for logs (bearing replacements, slide reworks, rebuilds).
- Spare parts / consumables: Which parts are included (collets, wheels, dressers, balancing wheels, spare spindles)?
- Videos / photos: Motion of slide, wheel slide, internal axis motion, spindle turning, control panel.
- Control system / drives: What control or automation is present? Any retrofits?
- Electrical / power / utilities: Confirm voltage, phase, coolant / fluid systems, hydraulic or pneumatic systems.
- Relocation history: Has it been moved, disassembled, shipped? Reinstallation can introduce alignment or stress issues.
If the vendor refuses to share detailed documentation or motion videos, that is often a warning sign.
Phase 2: Visual & Structural / Static Inspection
On arrival, before powering it, do a careful walk-around and static inspection.
- Frame, base, castings: Look for cracks, weld repairs, distortions, signs of past collisions or mishandling.
- Way covers, shields, guards, bellows: Missing, bent, or damaged protective covers are red flags (chips / coolant ingress cause wear).
- Slide surfaces, dovetails, guides: Examine visible guideways for scoring, scratches, dents, pits, rust.
- Wheel slide travel area: Check for wear, chips, damage in the wheel-slide zones.
- Spindle nose, bore, collet interface: Inspect for wear, burrs, scoring, corrosion.
- Coolant / fluid lines, reservoirs, seals: Leaks, corrosion, dirt, or inadequate sealing are problematic.
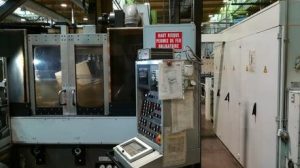
- Electrical / control cabinets (opened if allowed): Look for burnt wiring, overheated connectors, modifications, loose wiring, rust or chip intrusion.
- Foundation / leveling: Machine should sit rigid; check whether base bolts are tight and machine does not rock.
Take many photos, especially of suspect areas, as later references.
Phase 3: Dry / Motion Tests (No-Load)
Having checked statics, power up carefully (if allowed) and run motion tests without engaging grinding.
- Jog axes: Move wheel slide, internal axes, traverse axes (if any) slowly and at increased speeds. Notice smoothness (no sticking, jerking, binding).
- Small reversal moves: Make very small back-and-forth steps to gauge backlash / lost motion.
- Home / reference cycles: Repeat returning to zero several times; measure how closely it returns to the same point.
- Wheel slide stroke test: Traverse full slide travel and check for uniform motion, no sudden changes in friction or drag zones.
- Spindle rotation: Run the spindle at low, then mid speeds; listen for bearing noise, hums, vibration.
- Spindle play: Use an indicator or test bar to check radial and axial run-out / play.
- Traverse / cross-feed: Test cross-feed motors or drives, see if variable speed control responds, verify smoothness.
If any axis feels “touchy” in certain zones, or shows nonuniform behavior, that indicates wear or misalignment that may require rework.
Phase 4: Grinding / Functional Tests Under Load
This is the most revealing stage — put the machine through actual grinding operations.
- Use a known internal bore test workpiece (or a dummy bar) and perform a simple internal grinding pass.
- Measure the result: ID accuracy, concentricity, surface finish, cylindricity.
- Repeat several cycles to check consistency and drift.
- If the machine supports auto cycles / automatic internal traverse, test those.
- Test wheel dressing / dresser operations, ensuring the wheel can be redressed precisely.
- Test across different bore sizes (if possible) and at different positions (deeper, shallower) to see behavior variations.
- Monitor whether the machine or spindle heats, whether accuracy shifts over time.
- Try to cause “stress” conditions (longer cycles, slightly more depth) to see how stability holds up.
If the machine fails to maintain precision during repeated operations or drifts significantly, that’s a serious red flag.
Phase 5: Geometric / Metrology Checks
Use precision measurement tools to quantify the machine’s errors.
- Spindle run-out (axial, radial) — mount a test bar, sweep with dial indicator.
- Slide linearity / straightness — move across slide travel and measure deviation.
- Backlash — command movement in reverse and measure lost motion.
- Repetitive accuracy — command repeated moves to a point and see how consistent the return is.
- Thermal stability — after machine is warmed up, repeat critical measurements (drift over time).
- Parallelism / alignment — check alignment of grinding axis to the internal axis; check that the wheel axis is concentric to the bore axis.
Record all error values and compare to your acceptable tolerances.
Phase 6: Checking Support, Parts & Rebuildability
Even if the machine mechanically passes, you must evaluate long-term support and parts risk.
- Availability of spare parts: For Bryant machines, check whether collets, wheels, bearings, slides, electronic / motor parts are still obtainable. GCH Machinery mentions specializing in Bryant rebuilds and retrofits.
- Control / drive modules: If the machine has electronic drives, variable motors, or retrofits, confirm whether modules or replacements exist.
- Rebuild / retrofit possibility: Given Bryant’s reputation and remanufacture service, see whether the machine can be overhauled or upgraded.
- Documentation: Ensure you receive operation manuals, parts catalogs, wiring schematics, adjustment procedures (some listings note Bryant Model C manuals for sale from 1974)
- Past rebuild signs: Check for evidence of prior rebuilds or repairs. That’s not necessarily bad—if done correctly, can extend life. But if poorly done, it’s a liability.
Red Flags / Deal-Killer Conditions (Especially for Bryant C ID / Jig Grinder)
As you go through inspection, certain defects or conditions should dramatically lower your valuation—or even lead you to walk away.
- Severe wear or scoring of internal guideways or sliding surfaces — persistent damage that might not be repairable without heavy rework.
- Excessive spindle bearing noise, play, or vibration — the spindle is central to grinding; compromised bearings degrade quality severely.
- Nonrepeatability in reference returns / inconsistent axis movement — indicates drive or guide degradation.
- Drift under load / loss of precision in repeated cycles — shows thermal instability or control issues.
- Poor or missing wheel dressing / dressing mechanism problems — without precise dressing, internal grinding is unstable.
- Missing or damaged protective covers / seals — allowing coolant or chips to enter sliding surfaces and degrade geometry.
- Control / drive electronics that are obsolete or unrecoverable — if modules cannot be replaced, the machine may become unusable.
- Evidence of hack repairs, piggyback wiring, burned boards — suggests past failures and weak points.
- Seller restrictions on test cycles or access to internal parts — reluctance to allow full test cutting or opening covers is often hiding defects.
- No documentation, missing manuals or parts lists — makes maintenance, repair, or calibration very difficult.