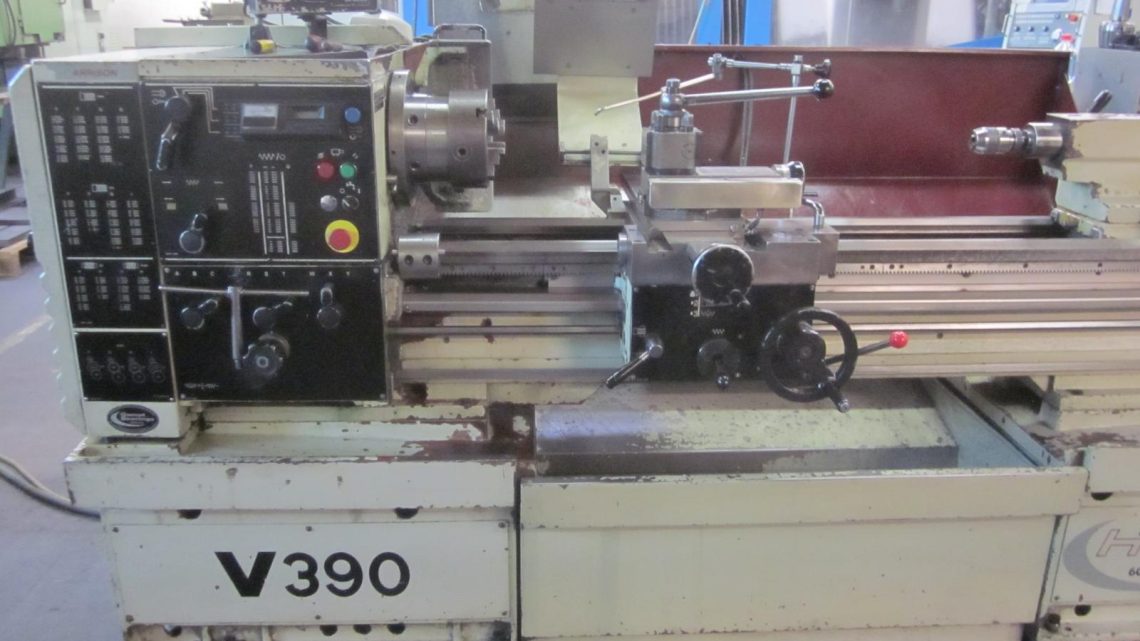
Smart Buyer’s Guide: How to Choose the Right Pre-Owned, Used, Secondhand, Surplus CNC Equipment Before Purchasing Harrison V390 Lathe made in UK
Here is a Smart Buyer’s Guide tailored for acquiring a used Harrison V390 (or equivalent British “Harrison V-series” center lathe). I’ll first summarize what a “nominal” V390 is (so you know the baseline), then provide a due-diligence checklist, negotiation and commissioning guidance, and red flags to watch out for.
0. Know the Harrison V390: Baseline Specs & Key Features
Before inspection, you should know what a “good / original” V390 looks like, so you can spot deviations, wear, or missing features.
From available documentation:
- The V390 is a variable-speed (infinitely variable) center lathe in the Harrison “V” line.
- It features a cast-iron, triangular webbed bed for rigidity and chip clearance.
- It has a Camlock spindle nose (D1-6) and a continuous speed range from ~ 14 rpm up to ~ 2,500 rpm.
- Spindle bore is about 54 mm (i.e. ~2.12 in) in many published V390 listings.
- Swing over bed (turning diameter) is ~ 400 mm (≈ 15.75 in).
- Distance between centers is often ~ 1,250 mm (~50 in) in used listings.
- Spindle power is often ~ 7.5 kW (10 HP) in many V390 spec listings.
- Other features: leadscrew reversing box, digital display for speed, metrics and imperial threading support, Camlock nose for quick chuck changes.
Because the V390 is a “toolroom / production” class lathe (not a light hobby lathe), you should expect higher rigidity, robust components, and serviceability. When evaluating a used unit, deviations from the baseline are not necessarily fatal—but you must understand them, quantify wear, and price in the risks.
1. Define Your Needs / Fitment Criteria First
Before even visiting a candidate, clarify your operational requirements. This lets you filter out unsuitable machines early.
Ask yourself:
- Workpiece size / envelope
What’s the longest length (between centers) and the largest diameter you’ll need? Ensure the V390’s stroke and swing are sufficient with margin for chucks, tooling, and fixtures. - Material & cutting loads
What materials will you turn (steel, aluminum, stainless, etc.) and what removal rates do you expect? Will the 7.5 kW spindle and torque profile handle your worst-case loads? - Precision & tolerance requirements
If you need high-precision work (e.g. < 10 µm), the condition of ways, spindle, and alignment becomes critical. - Threading / feeds / control compatibility
Do you frequently do metric/imperial threading? Do you use a DRO or CNC overlay? Is the control / readout compatibility acceptable? - Shop infrastructure
Power (voltage, phases), floor capacity, coolant, chip removal, space for access and maintenance.
Once you have this “must-have” spec sheet, any candidate that fails to approximate it can be excluded or deeply discounted.
2. Remote Pre-Screening & Inquiry Before Visiting
To avoid wasted trips, get as much detail as possible remotely from the seller. Demand pictures, videos, documents, and direct answers to technical questions.
Ask for:
- Exact model / serial number / year of the unit.
- Spindle bore, Camlock type, and spindle motor rating.
- Distance between centers, swing over bed / cross slide / in gap.
- Total running / cutting hours (if logged). Distinguish “power-on hours” vs “cutting hours” (cutting hours matter more).
- Maintenance and repair history: whether spindle rebuilds, bearing changes, way resurfacing, parts replacement have been done.
- Has the headstock or tailstock been repaired or modified?
- Past incidents or collisions (e.g. crashes, excessive loads, misalignments).
- Is the original control / readout / DRO / threading equipment included? Are schematics, manuals, wiring diagrams, parts lists available?
- Video demonstrations:
– Move each axis (longitudinal, cross, tailstock) through full travel
– Spindle run at low, medium, high rpm
– Threading test (if possible)
– Chuck mounting / removal, tailstock movement - Ask about any known defects, noisy bearings, excess backlash, misalignment, or wear complaints.
- Check whether any modifications or retrofit parts have been installed (non-OEM additions or hacks).
If the seller is reluctant or evasive, that is a red flag.
3. On-Site Inspection / Technical Evaluation Checklist
When you visit, bring a metrology kit if possible (indicators, test bars) or engage a machine-tool inspector. Here’s a step-by-step checklist.
A. Structural & Mechanical Check
- Bed & casting integrity
Examine the bed, bases, supports, and castings for cracks, repairs, patch welds, distortion, or corrosion. - Ways / guide surfaces
Inspect the longitudinal bed ways, cross slide ways, top slide surfaces. Check for wear, pitting, dark polishing, scoring or ridge formation. - Way covers / guards
Are the way covers, splash guards, chip guards intact or damaged? - Lead screws / nuts / backlash
Jog longitudinal and cross axes and detect backlash, slop, or “deadband.” Measure in multiple positions. - Headstock & spindle
Inspect spindle nose, check Camlock surfaces, examine for chips or damage. - Spindle bearings / runout / noise
Mount a test bar and measure spindle runout at various speeds; listen for bearing noise or vibration. - Tailstock & quill
Inspect tailstock quill for smooth movement, check taper, check for play. - Leadscrew / feed gear train / gearbox
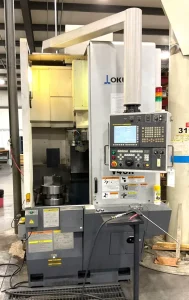
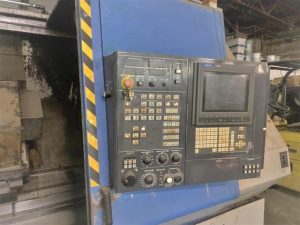
Examine the leadscrew drive, change gears, feed gearbox, and ensure they shift smoothly. - Control / readout / DRO / indicator panel
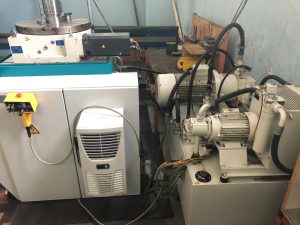
Check buttons, switches, display operation, D/A displays, emergency stop, wiring inside the cabinet if openable. - Lubrication & coolant systems
Inspect oiling lines, lubrication pumps, coolant pump, tank, piping, filters. - Foundation / leveling feet / mounting
Check the leveling pads, base mounting holes, signs of past relocations or alignment shims.
B. Functional & Operational Tests
- Jog axes fully in both directions, at slow and fast traverse rates. Watch for stalling, jerkiness, or binding.
- Homing / referencing / limit switch tests (if applicable) — see if limit switches or end stops trigger correctly.
- Backlash / positioning repeatability test
E.g., command a 100 mm move forward, then reverse, then forward again, and measure deviation with indicator or test equipment. - Spindle test at various speeds
Run at low, mid, and high rpm, look for noise, vibration, heating, or instability. - Threading / feed test
Try a test thread or feed cut. See whether feed & lead screws, gearbox, and alignment are acceptable. - Run a test job / light cut
Ideally, run a representative part or light turning operation (e.g. soft steel or aluminum). Observe how the machine behaves, any chatter, axis drift, or performance issues. - Check alarm / error logs (if the lathe has logged events) for recurring faults.
C. Metrology / Accuracy Measurements (if you can bring tools or inspector)
- Measure straightness, flatness, axis squareness, parallelism over travel.
- Use a precision test bar or dial indicator to check headstock alignment and tailstock coaxiality.
- Check taper error on quill or tailstock.
- Quantify backlash in screw / axis drives.
D. Documentation & Support Assets
- Confirm that operation & maintenance manuals, wiring diagrams, parts lists, schematics, and service records are available (or at least downloadable).
- Confirm control & readout software, backups, and their licenses (if applicable).
- Check for a spare parts kit, extra gears, spare bearings, change-gear sets, and availability of replacements (especially for Harrison / 600 group spares).
- Note whether any retrofits or non-OEM parts could complicate future servicing.
4. Evaluate Wear, Depreciation & Remaining Life
For a machine like the V390, your key concern is how much useful life remains—and what will cost you to restore it.
Focus on:
- Spindle bearing life / condition — if bearings are marginal or failing, a rebuild is expensive.
- Lead screws / nuts & backlash — worn nuts or damaged threads reduce precision; replacements or regrinding may be needed.
- Way wear / rail resurfacing — if bed or slide ways are heavily worn, resurfacing or scraping is very expensive.
- Gearbox / change gear sets — wear in the feed or threading gear train or worn gear teeth.
- Control / electronics obsolescence — if the readout / DRO or control modules are old or unsupported, replacements may be costly.
- Structural fatigue or alignment drift — a machine that’s been abused or relocated often may have lost alignment, requiring re-scraping or realigning.
- Auxiliary systems aging — coolant pumps, lubrication, switches, wiring, etc.
Build your “repair reserve”: estimate how much refurbishment will cost (bearing rebuild, way repair, electronics, etc.) and subtract that from what you’re willing to pay. It is not unusual in used machinery deals to discount 20–40 % (or more) for anticipated restoration / repair.
Also assess whether your supplier or local service shops can procure spare parts and support Harrison / 600 group components in your region.
5. Logistics, Installation & Commissioning Costs
These “hidden” costs often catch buyers off guard. Factor them in from the start.
- Transport & rigging — removing, crating, shipping, mounting, re-leveling.
- Foundation / floor — ensure floor can support the weight and dynamic loads; may need reinforced pad or leveling base.
- Electrical & utilities — the lathe will require three-phase power, proper grounding, stable supply; coolant, chip removal, lubrication systems must integrate with your shop.
- Alignment & calibration — after installation, you’ll need to realign axes, calibrate, test cuts, leveling, and fine-tuning.
- Break-in / burn-in — initial operational testing and debugging (first few weeks).
- Operator training, tooling, spare parts — familiarizing personnel, stocking spare modules, tools, maintenance supplies.
- Acceptance / warranty period — if buying from a refurbisher, negotiate a short warranty or acceptance test period.
These costs often add 10–25 % (or more, depending on location and condition) to your base acquisition cost.
6. Offer Valuation & Negotiation Strategy
When negotiating, use the following approach:
- Benchmark market pricing
Check listings of V390 or comparable Harrison lathes (same travel, condition) in similar geographic regions. For example, I found a listing with 1250 mm between centers, 54 mm spindle bore, and weight ~1,800 kg for V390. - Adjust for condition, defects, and missing components
If spindle needs rebuild, or readout is missing, or way wear is heavy, subtract those estimated costs. - Include risk buffer
Allow margin for unforeseen issues after purchase (hidden damage, electronics failures). - Require demos and load tests as sale conditions
Insist that the machine be demonstrated under load or with a sample part before sale. - Include spares, documentation, acceptance period
Push for inclusion of manuals, spare parts, test cuts, and a short acceptance / warranty period in the deal. - Set a “walk-away” threshold
Know your maximum acceptable total cost (including repairs) and be ready to walk away. - Third-party inspection
If possible, hire a machine tool inspector or metrology expert to validate your assessment before finalizing.
7. Red Flags / Deal Killers for a Harrison V390 Candidate
If you detect any of the following in a candidate, treat them as serious risks (or grounds to walk away or demand steep discount):
- Spindle bearing noise, excessive vibration, runout errors.
- Severe backlash or slop in axes.
- Missing or nonfunctional readout / DRO / control module (if integral to your use).
- Lack of documentation or wiring diagrams.
- Evidence of crash damage, repaired castings, or structural cracks.
- Heavily worn or damaged way surfaces or rails.
- Gearbox or change gear train damage or missing gears.
- Tailstock misalignment or worn quill.
- Electrical cabinet damage, burnt wires, missing control modules.
- Reluctance to allow test cuts or operational demo.
- Very low asking price with no plausible explanation.
- Poor parts availability or no support for spare parts in your region.
As one machinist observed in a forum:
“If a machine’s wiring diagrams, parts lists, or spindle specs are missing, you’re buying blind. You may spend more repairing than the machine’s worth.”
8. Commissioning & Best-Practice After Purchase
Once you have the machine in your shop:
- Before dismantling / transport: Take baseline measurements (flatness, alignment) so you can compare post-reinstallation.
- Re-level & align: Use precision leveling, align axes, check tailstock / headstock coaxiality, and tramming.
- Burn-in runs: Gradually run axes and spindle, watch for heat buildup, vibration, drift.
- Calibration & test cuts: Run calibration parts, measure tolerances, adjust backlash compensation, alignment maps.
- Monitor closely in first weeks for drift, loose bolts, alignment shifts.
- Set preventive maintenance schedule: every 3–6 months, check backlash, lubrication, alignment, spindle conditions.
- Maintain a log of adjustments, repairs, performance drift, and modifications.
- Stock critical spares: Spare bearings, seals, gears, nuts, sensors, etc.
- Evaluate periodic retest: Over time re-check alignment, backlash, wear, and consider refurbishment before deterioration becomes severe.