25/09/2025
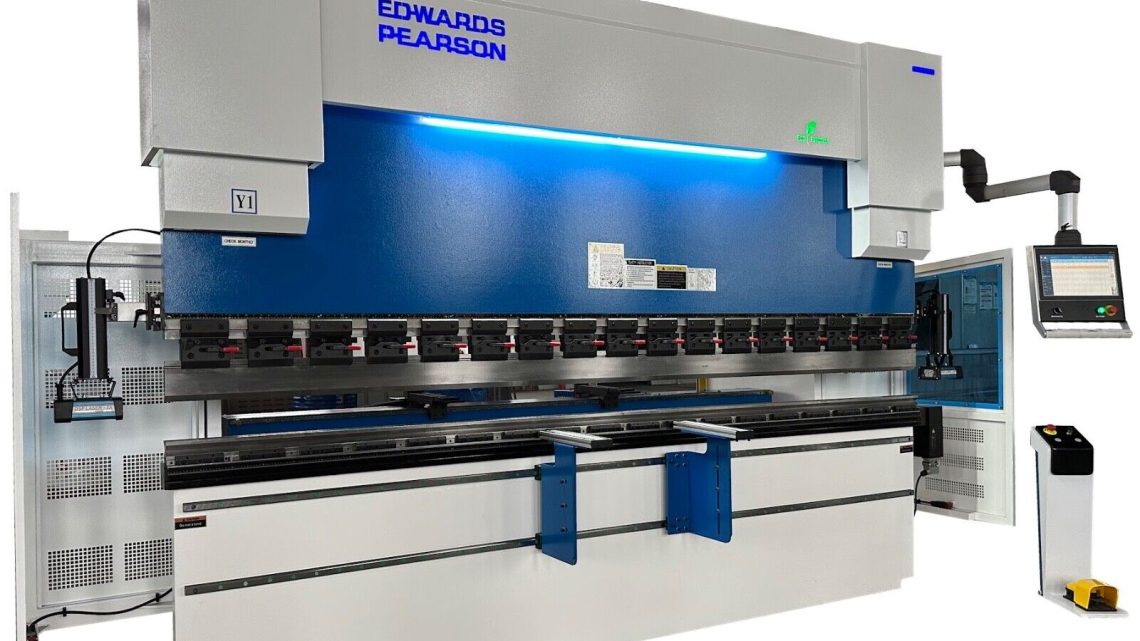
Avoid Costly Mistakes: Professional Tips for Purchasing a Pre-Owned / Surplus / Second-Hand / used EDWARDS PEARSON PR-Eco-6+1 Energy Saving Press Brake made in UK
Below is a comprehensive checklist and best-practice guide (drawn from industry experience) for buying a used / surplus Edwards Pearson PR-Eco-6+1 (energy-saving) or any comparable press brake. Because used machine purchases are risky, your goal is to identify hidden defects, estimate future service costs, and negotiate appropriately. Use it as a “due diligence playbook” before you commit.
Preliminary Research (Before You Visit)
- Gather all documentation beforehand
- Try to obtain original factory manuals, parts lists, wiring diagrams, maintenance logs, schematics, and software/license records.
- Ask about major repairs, rebuilds, parts replacements (e.g. cylinders, pumps, control upgrades).
- Check machine model & configuration
- Confirm the machine is indeed a PR-Eco-6+1 (or equivalent) and that the “+1” energy-saving feature is intact.
- Understand exactly what “energy-saving” means in this model (e.g. a hybrid pump arrangement, servo drive, standby mode, etc.).
- Determine the machine’s nominal capacity (tonnage), bending length (“X mm”), stroke, daylight opening, angle adjustment range, backgauge capability, tooling interface, etc.
- Verify parts availability & support
- Contact Edwards Pearson (or their authorized agents) to check whether spare parts are still available for this model (hydraulic cylinders, control board, seals, sensors, software modules).
- Ask whether the OEM (or third parties) still support or upgrade the control system or servo/drive if needed.
- Check whether generic controllers (Delem, Cybelec, etc.) could be retrofitted, should the original control fail.
- Plan transport & reinstallation costs
- This machine is heavy and composed of large assemblies (frame, cylinders, hydraulic unit, backgauge, electrical cabinet). Estimate shipping, crane, rigging, foundation, leveling, and installation costs.
- Ensure your facility can accommodate its footprint, weight, and clearance for operation and maintenance.
- Define your usage envelope
- What material types (steel, stainless, aluminum) and thicknesses will you bend?
- What maximum length will you need?
- What precision (angle tolerance, repeatability) do you require?
- What throughput (bends per hour) do you need?
- Compare these to the machine’s rated specs plus safety margin (e.g. 20–30 % extra capacity).
Physical and Technical Inspection Checklist (On Site)
When you arrive to inspect the machine in person, be systematic. Below is a detailed checklist—don’t skip items.
| System | What to Inspect / Test | Acceptable Condition / Red Flags |
|---|---|---|
| Frame / Structure | Look for cracks, repairs, welds, stress fractures in the frame, uprights, base, and side plates. Check for warpage, twisting, or unusual paint repairs. Use straightedges and feeler gauges. | Small cosmetic scratches are acceptable; structural cracks, heavy weld repairs, or warped geometry are red flags. |
| Ram / Slide / Bed | Check that the ram translates smoothly throughout its stroke (no jerks). Use a dial indicator on the ram relative to bed to check parallelism/flatness. Examine contact surfaces for gouges, burrs, or scoring. | Ram should move smoothly and evenly. Indications of scoring, galling, or misalignment are warning signs. |
| Hydraulic System | Inspect cylinders, rods, seals, hoses, valves, pump, accumulators, filters, oil reservoir. Look for leaks, oil stains, fluid contamination, rust, scoring on cylinder rods. | Leaks or seepage extend maintenance cost. Discolored or dirty oil suggests neglect. Worn cylinder seals can lead to rebuild costs. |
| Oil / Fluid Condition | Drain (or sample) a bit of hydraulic fluid and check for contamination (particles, metal shavings, milky emulsion). Smell for burning/overheated oil. | Clean oil with little particulate is good. If fluid is black, milky, or has metal particles, that’s worrisome. |
| Pump & Power Unit | Listen to the pump during operation: check noise, vibration, smoothness. Inspect motor, couplings, bearings. | Excessive noise, vibration, or overheating may indicate worn bearings or misalignment. |
| Control System / CNC / Electronics | Power it up and test all functions. Check the control display, buttons, memory, backup battery, emergency stops, limit switches, sensors. Run through the axes (X, R, etc.) under manual mode. Check whether software is original or has been modified/hacked. | A nonresponsive control or missing modules is a major problem. Obsolete or custom control architectures are risky if replacement becomes impossible. |
| Backgauge / Axis Drives | Move backgauge axes, check for repeatability, smooth motion, backlash. Inspect guide rails, lead screws, servo motors, couplings. | Excessive backlash, sloppy motion or damaged rails/ballscrews is a red flag (repair could cost heavily). |
| Tooling & Tool Holders | Inspect the upper punch, lower dies, tool holders, clamping system (segmented tooling, hydraulic or mechanical clamping). Check wear on tooling surfaces. Also check compatibility of tooling with your existing inventory. | Deep wear, broken segments, misaligned tooling should be discount points. |
| Crowning / Compensation System | Many press brakes have crowning (mechanical/hydraulic) to compensate deflection. Test whether it still works, moves smoothly, and is well calibrated. | If the crowning system is stuck, stripped gears, or missing parts, that’s a costly repair. |
| Safety Devices | Test emergency stop, two-hand operation (if present), light curtains, safety mats, guarding. Ensure they are all functional and compliant with your local safety standards. | Nonfunctional safety devices are unacceptable; you may be forced to retrofit or re-certify. |
| Electrical Wiring & Cabinet | Open the control cabinet: look for overheating, burnt wires, loose terminals, patchwork wiring, missing covers, water ingress, dust accumulation. Check relays, fuses, contactors, servo drives. | Messy wiring, burn marks, or failed components are warning signs. |
| Alignment & Leveling | Check that the frame is level; measure deflection under load if possible; verify that bed and ram alignment are within tolerance across the working span. | Large misalignment or poor leveling may require frame repair or re-leveling on site. |
| Performance Test Bending | Request bending trials (if allowed) on sample scrap material that mimics real world. Measure angle accuracy, repeatability, springback compensation, parallelism across length. | If it fails to produce acceptable bends, its practical value is diminished. |
| Vibration / Noise / Thermal Behavior | Run machine for a while at idle and under load. Listen for unusual squeaks, knocks, pump noise, vibrations. Monitor temperature of motor, hydraulic unit. | Excessive vibration, noise, or overheating may indicate fatigue, misalignment, or worn parts. |
Negotiation & Price Considerations
- Assess the “repair delta”
- After inspection, you should estimate what parts will need replacement (cylinders, seals, control modules, drives, wiring, backgauge, tool wear). Add a contingency (e.g. 20 %) for unexpected findings.
- The final offered price should deduct the cost of bringing it to “good working condition” plus your profit margin or risk buffer.
- Factor in downtime & warranty risk
- Because it’s used, you should allow for extended commissioning, alignment, debugging, and potential breakdown within early months. Negotiate for a short warranty (e.g. 30–90 days) or a return window if critical faults appear.
- Spare parts package & tooling inclusion
- Try to get spare seals, hoses, control modules, backup drives, tooling, etc. included or at favorable discount.
- If there are multiple tooling sets or dies included, that’s added value — but inspect them carefully for wear.
- Ask about load history & duty cycle
- Machines that operated near full load constantly will have overall more wear. Ask for historical usage metrics or operator logs.
- Condition-based discounts
- Use found defects (worn rails, leaks, control degradation) to negotiate steep discounts. The more defects you detect confidently, the more leverage you have.
- Consider a “pre-purchase rehab”
- Sometimes you can negotiate for the seller to do certain repairs (replacing seals, calibrating crowning, servicing hydraulic system) before your acceptance test.
After Purchase / Before Full Operation
- Full strip-down & cleaning: Before you commission, fully flush hydraulic circuits, change filters and oil, re-lubricate all moving parts, and clean debris.
- Recalibrate & re-level: Use precision instrumentation to level the machine and correct alignment.
- Control & software backup: Back up all control settings, parameters, and source code. Document your baseline.
- Gradual ramp-up: Begin operations at lower load to validate machine behavior before pushing full capacity.
- Maintenance schedule: Establish a preventative maintenance schedule (oil changes, seal checks, calibration) from day one.
Common Mistakes & Pitfalls to Avoid (Lessons Learned)
- Buying based mainly on low price, ignoring hidden repair costs.
- Underestimating control obsolescence: many used machines have controls that are unsupported or require rare parts.
- Accepting a machine without test bends.
- Ignoring structural defects (cracks, frame warp) until too late.
- Neglecting to verify safety compliance (may require retrofits).
- Assuming tooling is “good enough”—tool wear often renders included tooling almost worthless.
- Underestimating shipping, crane, and installation costs.
- Overlooking the cost of commissioning, calibration, and operator training.