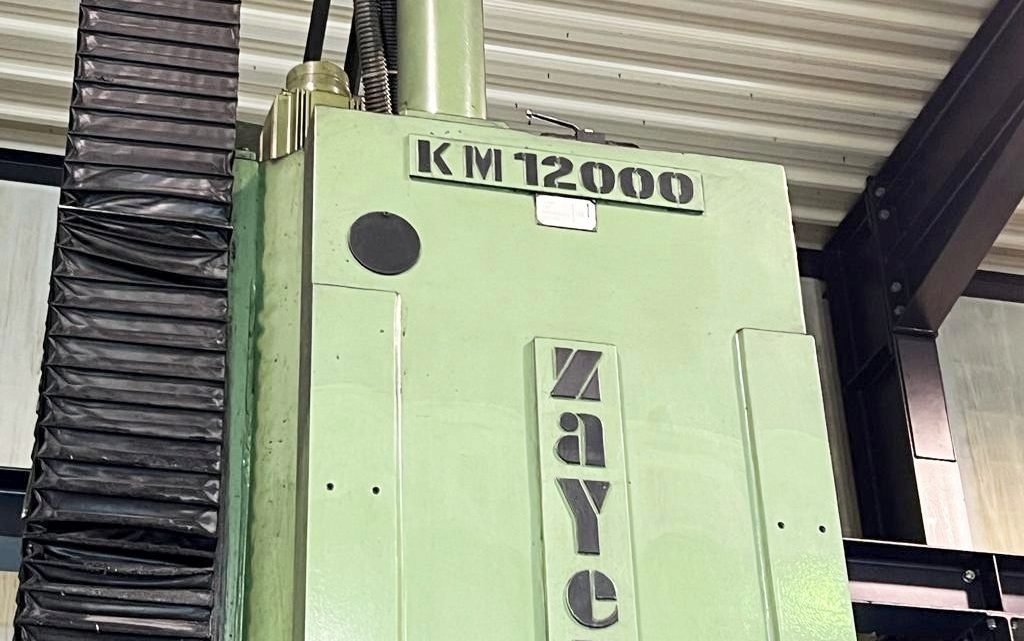
Avoid Costly Mistakes: Professional Tips for Purchasing a Pre-Owned / Second-Hand / used Zayer KM 12000 CNC Bed Type Milling Machine
Here’s a detailed, professional “due diligence” guide for evaluating a used Zayer KM 12000 (or similar Zayer bed / heavy-duty milling machine). Because machines of this size and type are high-cost, high-risk purchases, each test or observation can save you large future expenses.
1. Research & Establish a Baseline
Before arriving onsite, do some homework so you know what “normal / acceptable” is for that model or close equivalents.
- Search for existing listings or spec sheets of Zayer “KM / KCU / bed type / gantry / traveling column” machines. For example, a Zayer KCU 12,000 is listed as having X = 12,000 mm, Y = 2,500 mm, Z = 1,000 mm, spindle 20–1,800 rpm, 37 kW spindle motor, ISO50 taper.
- Use that spec envelope to flag claims that deviate too far (e.g. “spindle 10,000 rpm” might be a heavy retrofit, or “travel 20,000 mm” might be exaggerated).
- Also study general guides on buying used milling / CNC machines—what to watch out for, common pitfalls.
- Make a checklist of the features you need (travel, spindle power, head / indexing, control type) so you can cross-check what you see later.
2. Documentation & History (Your First Filter)
Even a machine that looks good can hide a poor history. Demand thorough documentation before seriously committing:
- Original manuals (mechanical, electrical, control), wiring diagrams, parts lists
- Service logs / maintenance records: any rebuilds, bearing changes, guideway work, spindle refurbishment
- Control backups / parameter files / tool libraries
- Usage history: machine hours, duty cycle (1 shift / 3 shift), material types worked
- Modifications or retrofits (e.g. spindle upgrade, head change, control retrofits)
- What comes with the sale: head attachments, indexing heads, tool changers, fixtures, spare parts
- Calibration / test reports (if the machine has been aligned or certified recently)
- Spare parts availability: ask whether essential parts (spindle bearings, head parts, control boards) are still available or become custom.
If documentation is weak or absent, that greatly increases your risk.
3. Visual & Structural Inspection (Before Power-Up)
Walking around the machine before powering helps catch physical problems or signs of abuse.
- Castings & Structure: Examine the bed, columns, supports, cross beam (if applicable) for cracks, weld repair scars, distortion or repairs.
- Guide / sliding surfaces: Check for rust, pitting, scratches, scoring on ways / guide surfaces.
- Way covers, bellows, guards: Check that covers are intact, properly aligned, not torn or missing (chips or grit ingress are destructive).
- Head / spindle housing: Look for leaks, stains, coolant or oil trails, degraded seals.
- Tool magazine, heads, indexing mechanisms: Bent arms, worn pockets, uneven wear.
- Electrical enclosures & wiring trays: Check for corrosion, water ingress, missing covers, loose conduit.
- Coolant / filtration / chip conveyor: Inspect tanks, pumps, piping, filter housings for signs of neglect or damage.
- Leveling & foundation evidence: Look for signs of past moves (rebuilt anchor bolts, cracked mounting pads).
4. Power-Up / Motion Tests (No Load)
Once allowed, power the machine and test all axes & motions before doing any cutting.
Control / System Boot
- Watch the boot / initialization of the CNC — check for alarms, missing modules, error logs.
- Test panel buttons, switches, emergency stop, displays, interlocks.
Axis Motion & Backlash
- Jog X, Y, Z axes through full travel at slow and medium speeds. Feel for binding, jerkiness, changes in resistance.
- Reverse direction mid-travel to detect dead zones or backlash. Use a dial indicator to measure direction reversal play.
- Listen for scraping, metallic contact, or impact noise during motion transitions.
Feed / Rapid Transitions
- Switch between modes (e.g. from rapid to feed) and see how smoothly the machine transitions.
- If there’s a head indexing or speed gear, test shifting (if applicable).
Spindle & Tool Changer
- Run spindle at multiple speed ranges (if allowed) with no load. Listen for bearing hum, vibration, uneven rotation.
- Mount a test bar or mandrel and check radial/axial runout across 360°.
- Test tool change cycles: every pick / drop should operate with repeatability and without hesitation.
Auxiliary Systems
- Activate coolant pumps, chip conveyors, filtration, flushing systems. Check for leaks, noise, flow consistency.
- Test hydraulics or pneumatics (if used) for smooth movement and no sluggishness or loss.
5. Precision & Test Machining
If the machine passes motion & spindle tests, see if it still produces accurate parts.
- Mount a known reference / ground bar. Use indicators along its length to check straightness, taper, runout.
- Retract & return to the same point; measure repeatability.
- Perform a light finishing cut in a sample workpiece. Measure resultant geometry (diameter, flatness, perpendicularity) at multiple points.
- Test at extremes of travel (start, middle, end) to see if accuracy degrades near limits.
- Run the machine for a warm-up period (20–30 minutes) and re-measure to detect thermal drift.
6. Common / Hidden Wear & Cost Traps
Even a good-looking machine often needs refurbishment. Anticipate these:
- Spindle bearings: wear or required overhaul
- Wear on guideways, ways, sliding surfaces requiring scraping or regrinding
- Ball screw / nut wear / backlash
- Worn or misaligned heads / indexing mechanism parts
- Control / electronics failure (especially older modules or custom parts)
- Cable harnesses / connectors aging / insulation breakdown
- Coolant / filtration / pump system overhaul
- Parts availability: if model is old or less common, some parts may be hard or expensive to source
- Transport, rigging, leveling, foundation work
- Calibration, alignment, test cuts after installation
Budget a “refurbishment reserve” (10–20 % of purchase price) for these unknowns.
7. Negotiation & Agreement Safeguards
Use your findings to protect your purchase.
- Insist on an acceptance / test period (run all axes, test cuts, accuracy checks) before final payment.
- Retain a portion of payment until acceptance criteria are met.
- Require the seller to provide all documentation (manuals, parameter files, wiring diagrams).
- Get a written condition disclosure from the seller: known defects, wear, parts replaced.
- If possible, negotiate a short warranty (30–90 days) on spindle, drives, indexing systems.
- Specify who pays for transport, installation, leveling, alignment.
- Ask for included tooling, heads, accessories, spare parts.
- If possible, have the seller assist with first setup / alignment at your site.
8. Red Flags / Walk-Away Conditions
Some issues are too serious to accept easily. If you see any of these, demand a deep discount or walk away:
- Seller refuses full motion or spindle testing
- Excessive backlash, binding, or irregular motion
- Spindle noise, vibration, or poor runout
- Tool change failures or misindexing
- Electrical cabinet with burn marks, corrosion, missing modules
- Structural damage: cracked castings, welded repairs, distorted frames
- Missing or heavily damaged way covers or guards
- Obsolete or unavailable spare parts
- Control or program corruption, missing backups
- Prior modifications done poorly (bad welds, misalignment)