Avoid Costly Mistakes: Professional Tips for Purchasing a Pre-Owned / Second-Hand / used Niigata VN500 CNC Vertical Machining Center
Buying a used Niigata VN500 (or similar Niigata vertical machining center) can be a smart move—if you vet it carefully. Below is a professional, detailed “avoid costly mistakes” guide that you can use to inspect, negotiate, and make a safer purchase.
0. Preliminary Research & “Expected Spec Envelope”
Before you visit, you should arm yourself with what a healthy Niigata VN500 should deliver—or at least what is plausible. This gives you reference points to challenge claims.
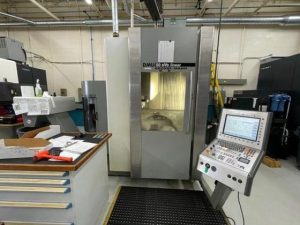
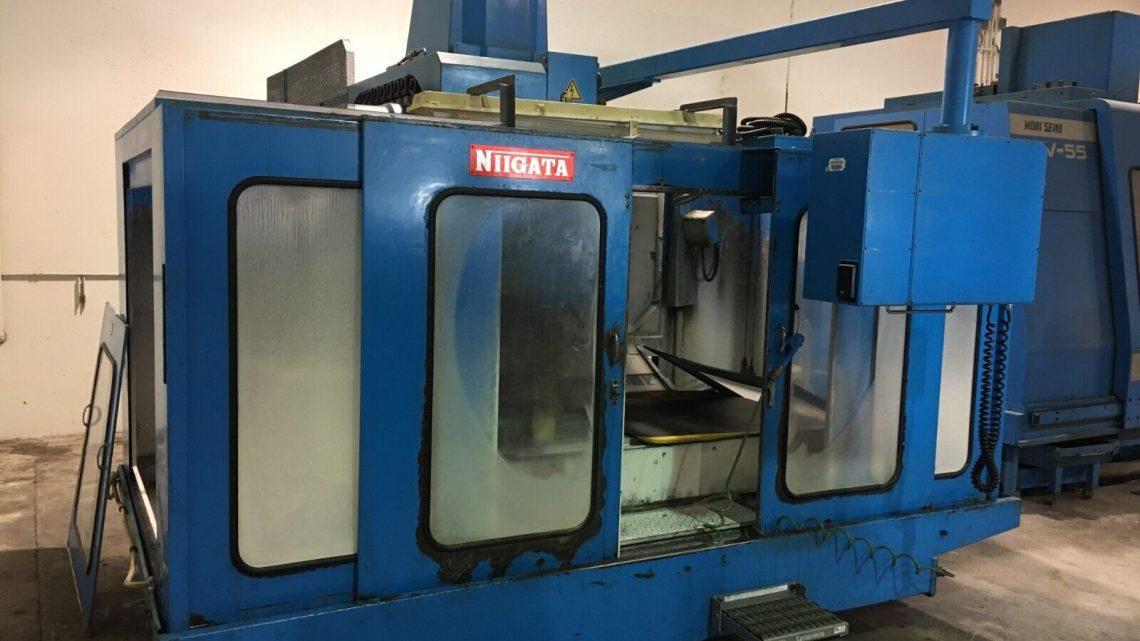
- A listing cites Niigata VN500-15HP with a Fanuc control and a 20″ × 40″ table.
- The “VN500” naming typically suggests a VMC with moderate travel and robust structure.
- Because Niigata is more famous for its horizontal / heavy machining centers, a vertical machine from them may have been a niche or legacy model—so parts or documentation might be harder to find. Niigata’s general reputation emphasizes rigidity, accuracy, and quality construction in their machine tools.
So if a seller claims extremely large travels, extremely high spindle speeds, or exotic options, demand proof.
Also, use general used CNC-VMC inspection guidelines (e.g. from Premier Equipment’s “7 Step Guide”) as an overlay.
1. Documentation & Machine History (Your First Filter)
No matter how good the machine looks, without solid documentation you take more risk. Before you commit, get:
- Service / maintenance logs / repair invoices: bearing changes, axis rebuilds, spindle work, etc.
- Original manuals / parts list / electrical / hydraulic / pneumatic schematics
- CNC control backup, parameter files, tool libraries, programs
- Usage history: hours, shifts, materials, duty cycle
- Modification / retrofit records: any non-OEM parts, spindle upgrades, controller swaps
- List of included accessories: tooling, fixturing, chucks, tool holders, spare parts
- Inspection / test reports (if machine was aligned, precision tested recently)
If the seller can’t provide credible records, demand a steep discount or walk.
2. Visual & Structural Inspection (Before Power-Up)
Many fatal issues can be seen before turning anything on.
- Frame & Structure: Inspect the base, column, saddle, overarm (if any) for cracks, weld repairs, distortions.
- Guideways / Sliding Surfaces: Check for rust, pitting, scoring, wear marks on ways, dovetails, box guides, sliding surfaces.
- Way Covers / Bellows / Guards: Missing or damaged covers often correlate with internal wear (chips, coolant ingress).
- Spindle Nose / Head / Enclosure: Look for oil leaks, coolant drip stains, seal damage.
- ATC / Tool Magazine / Tool Arms: Bent or worn arms, damaged pockets, misalignment signs.
- Electrical Enclosure & Wiring: Open the panels if possible—look for corrosion, water ingress, burn marks, missing covers.
- Coolant / Chip Removal System: Inspect coolant tank, piping, filters, pump housing for signs of neglect or leaks.
- Overall Cleanliness & Care: A machine that’s been cleaned and maintained externally is more likely to have been cared for internally.
3. Power-Up & Basic Tests (No Load / Motion Only)
Once you’re permitted to power the machine (and ideally under seller supervision):
Control & Boot
- Power the CNC: watch for errors, missing modules, alarm logs, failed diagnostics.
- Test all panels, E-stops, switches, displays, indicators and ensure interlocks function.
Axis Motion & Backlash
- Jog all axes (X, Y, Z) through full travel at slow/medium speeds. Feel for sticky zones, jerkiness, uneven resistance.
- Reverse direction mid-travel to test for backlash / play — use a dial indicator to quantify it.
- Listen for scraping, metallic noises, sudden motion changes.
- Check coupling between servo motors and screws—loose couplings may induce error.
Spindle & Tool Interface
- Run the spindle (no load) across its speed range. Listen for bearing hum, vibration, instability.
- Mount a test bar or mandrel; measure radial and axial runout over 360°.
- Inspect spindle nose / taper / collet interface for wear or damage.
- If machine has tool changer / automatic tool system, cycle through tool changes. Watch for delay, misalignment, hesitation or slap.
Auxiliary Systems
- Turn on coolant pumps, chip conveyor, flood or high-pressure coolant if present; verify smooth operation, no leaks, correct flow.
- Test hydraulic or pneumatic systems (if used for clamps, slides) for smooth actuation.
4. Precision & Test Machining
Once the machine passes preliminary motion tests, you must see whether it can still produce parts to spec.
- Mount a known ground reference or master bar. Use dial indicators or test indicators at various points to check straightness, taper, runout.
- Retract / return to same points and measure repeatability.
- Do a light finish machining pass on a sample workpiece; measure geometry (diameter, flatness, perpendicularity) at multiple points.
- Run test cuts near the limits of travel (start, mid, end) to see if accuracy degrades at extremes.
- Warm the machine (run for 20–30 min) then re-measure to detect thermal drift.
5. Hidden / Likely Wear & Cost Traps
Even a machine that “looks serviceable” may need serious work. You should plan for:
- Spindle bearing replacement or full rebuild
- Worn ball screws / nuts and axis backlash
- Wear on guideways / sliding surfaces requiring scraping or reconditioning
- Tool changer / ATC arm wear, cam or gear wear
- Electronics, servo drive / amplifier failure
- Cable harnesses, connectors, aged insulation
- Hydraulic / coolant / filtration rebuild or overhaul
- Spare parts procurement difficulties (especially for niche Niigata vertical models)
- Transport, installation, leveling, calibration / alignment
- Downtime during commissioning
A prudent purchase budget usually includes a “refurbishment buffer” (often 10–20 % of the machine’s price).
6. Negotiation & Safeguards in the Agreement
Use your inspection leverage to protect yourself.
- Demand an acceptance / testing period before final payment.
- Withhold part of payment until key performance criteria (motion, accuracy, spindle, tool change) are proven.
- Require delivery of all documentation, schematics, configuration files, and spare parts.
- Ask for a written disclosure of known defects or wear.
- If possible, get a short warranty (30–90 days) on major components (spindle, drives).
- Clarify who pays for transport, rigging, leveling, alignment, installation.
- Insist that tooling, fixtures, and spare parts be included (if offered).
- If feasible, have the seller assist with first startup and alignment at your site.
7. Red Flags / When to Walk Away
Some issues are too risky to accept without major discount or rejection.
- Seller refuses full access, motion testing, or major procedures.
- Excessive backlash, binding, or irregular motion in any axis.
- Spindle hum, vibration, or unacceptable runout.
- Tool changer arm misindexing, hesitation, or dropped tools.
- Control faults, missing modules, parameter corruption.
- Electrical enclosures with burn marks, corrosion, water damage.
- Structural damage: warped frames, cracked castings, bad past repairs.
- Missing covers or guards (leading to chip ingress).
- Replacement parts or control modules are no longer available.